Appointment types
Appointment types are an easy way to quickly categorize all types of appointments you might need. This module saves you a lot of time as you do not have to enter all details of a (recurring) appointment from scratch. Appointment types are templates used for creating appointments on the Calendar page.
1. Appointment types definition
Appointment types are presets created via the appointment types page. Appointment types allow you to set a defined time, length, color and description for a (recurring) appointment.
2. Appointment types overview
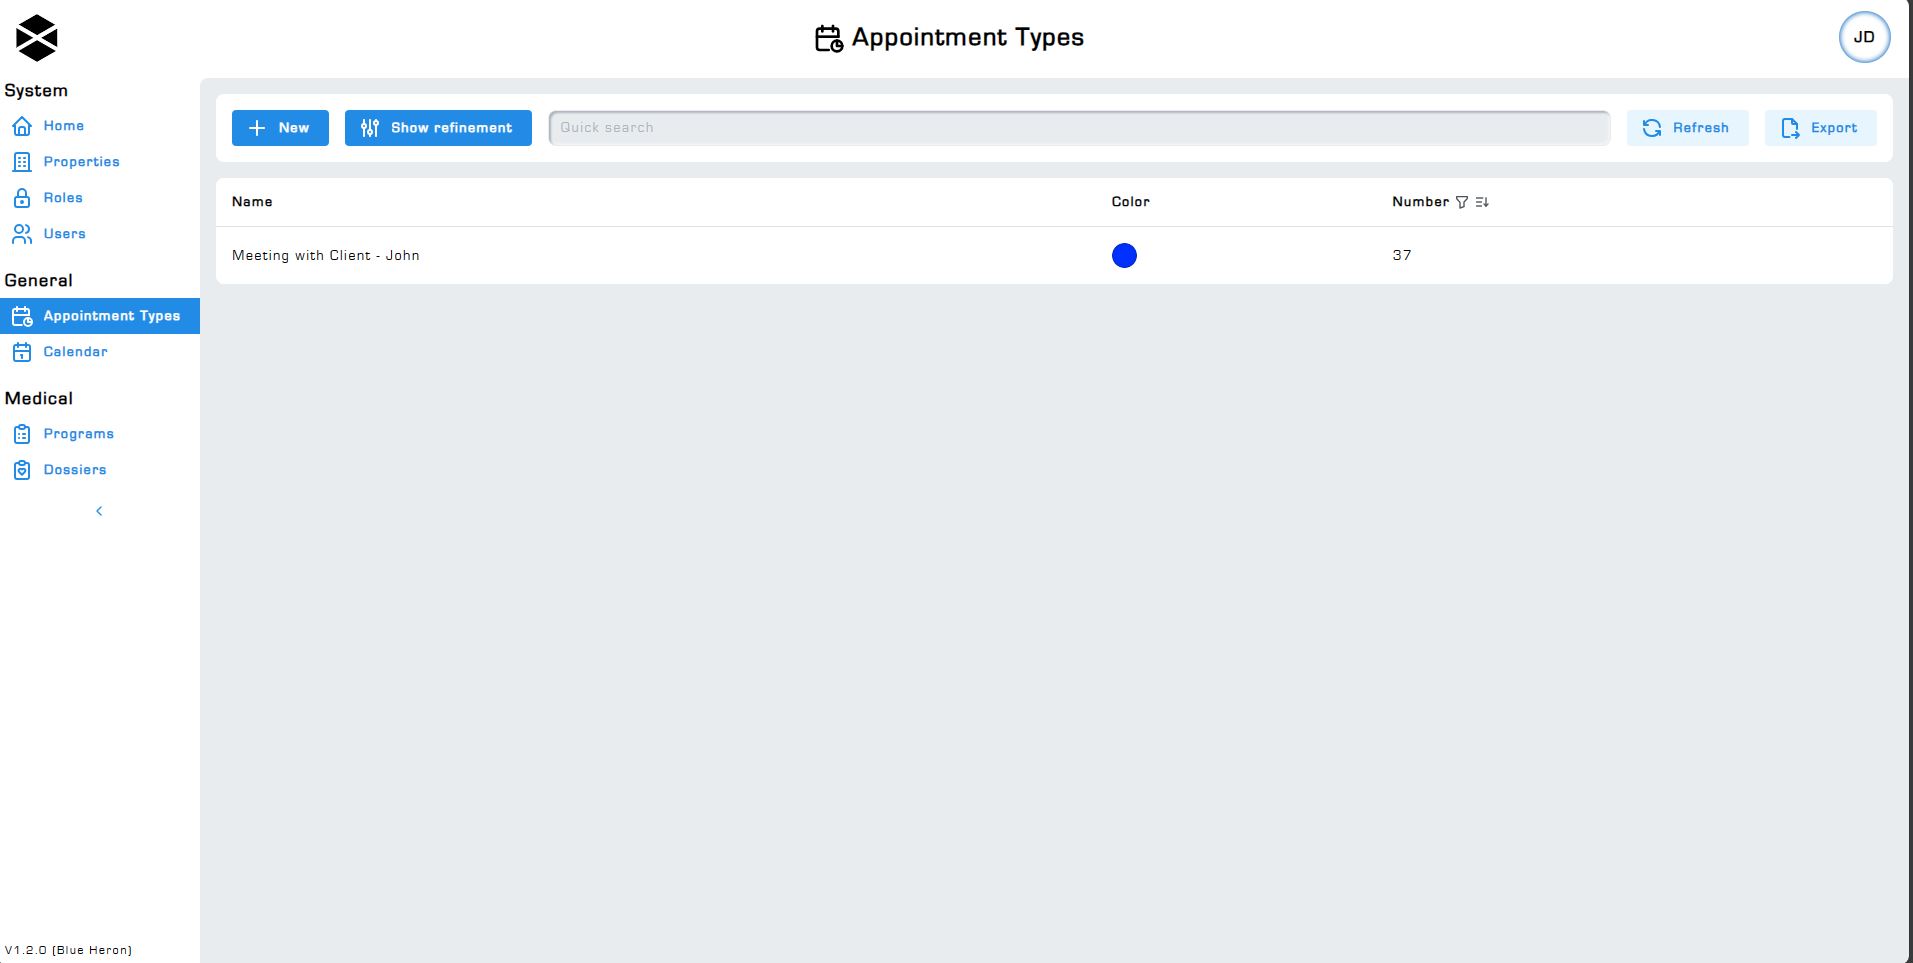
The appointment types overview can be accessed by clicking on the Appointment types button under the Scheduling module section. This page shows you all previously created appointment types. Create, edit, view and delete appointment types via this page.
3. Creating Appointment types
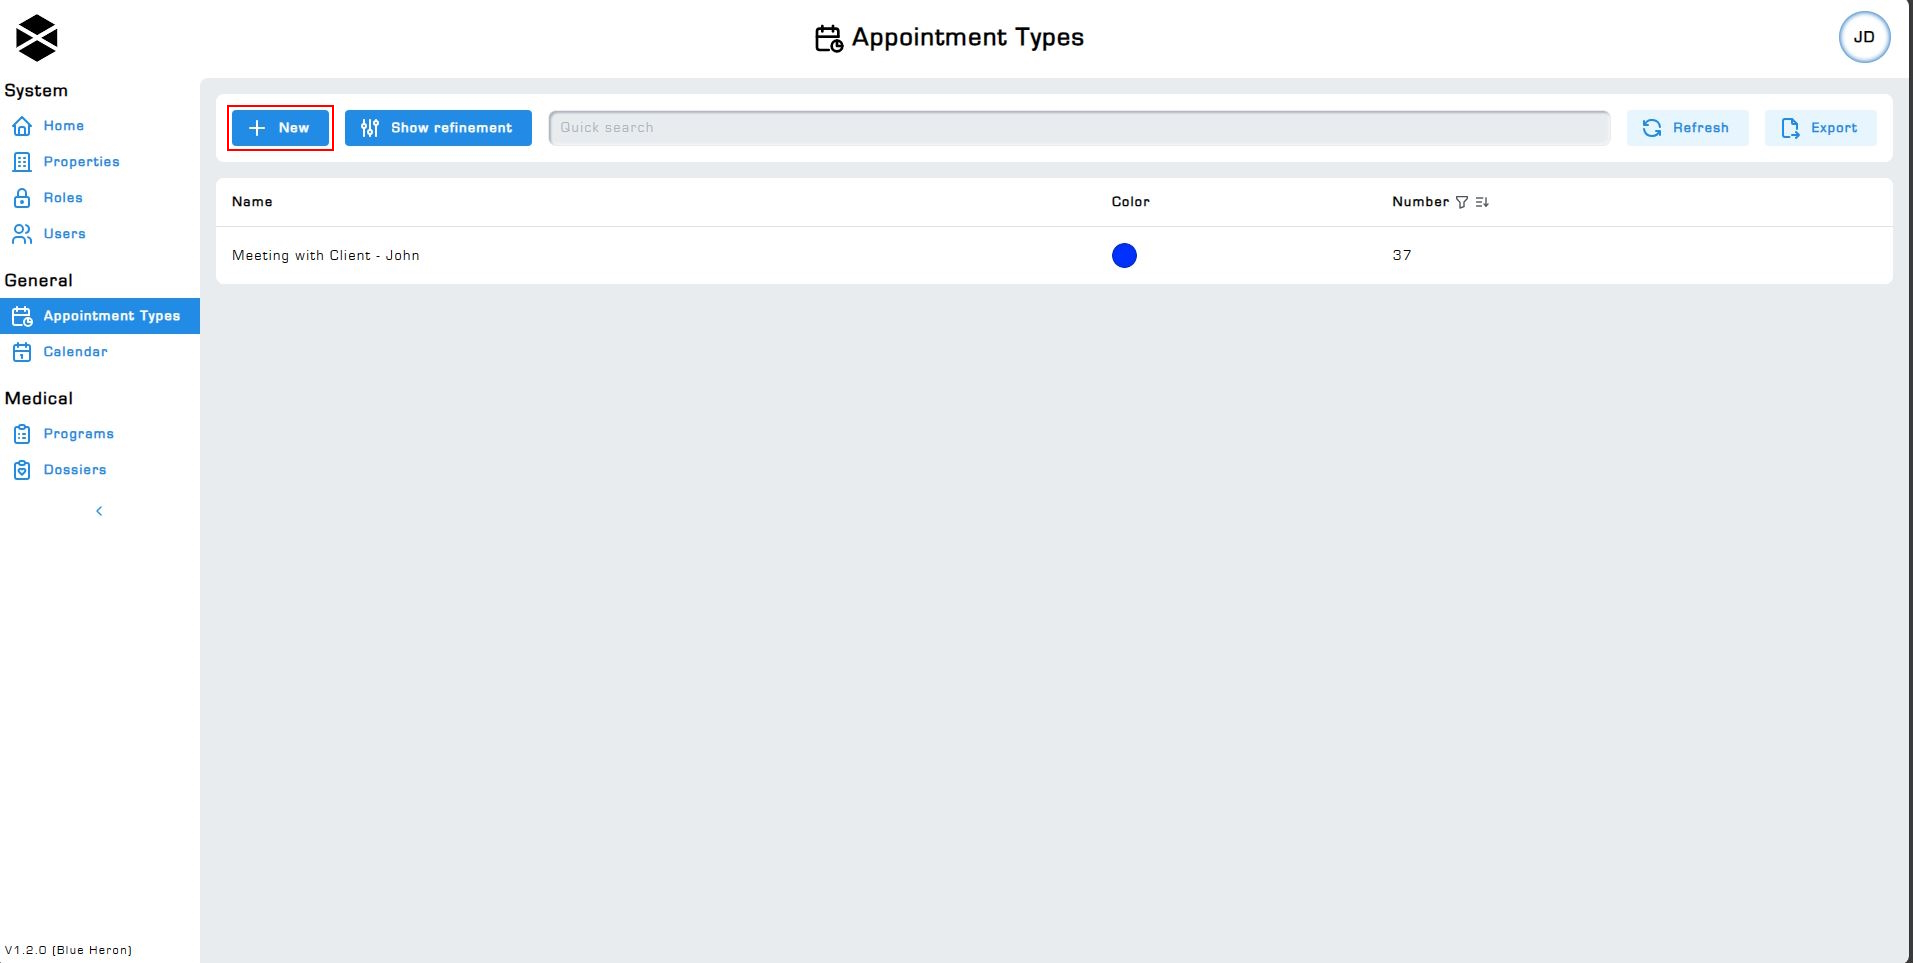
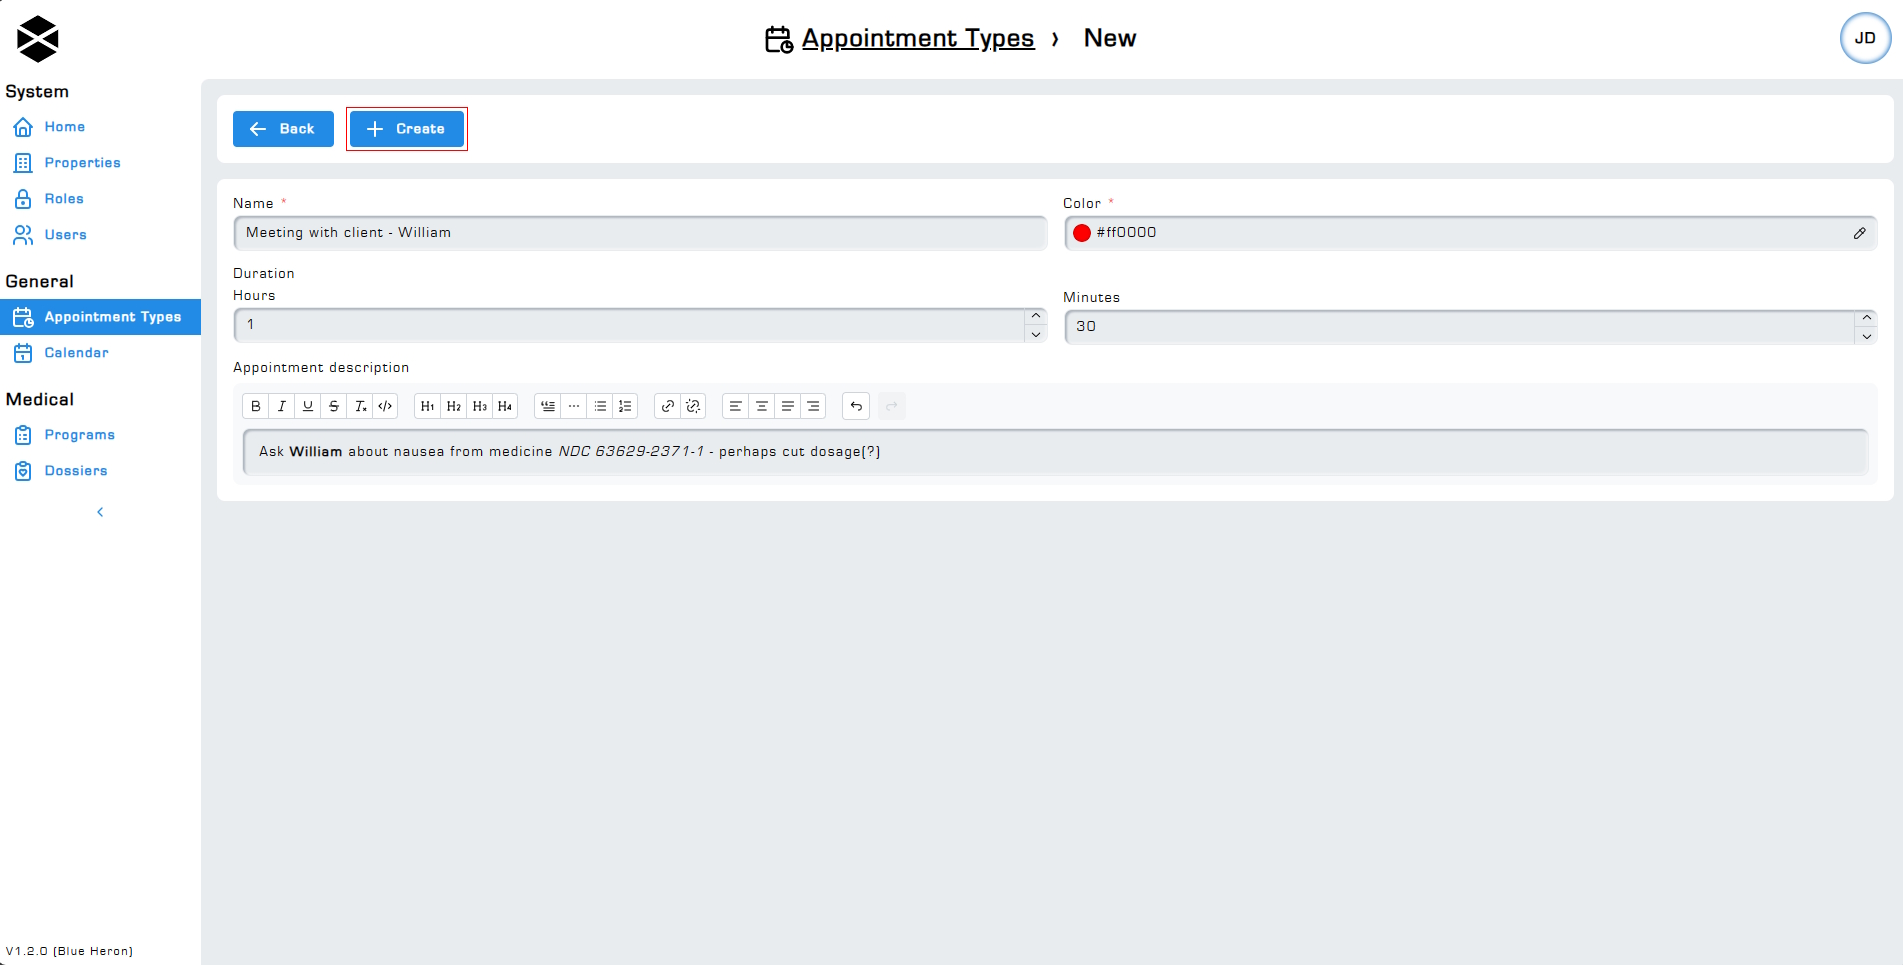
To start creating an appointment type, click on the + New button. This will open a new page where you can fill in the details of the appointment type. Entering a name and a color is required for the appointment type to be created. The length as well as the description of an appointment type are optional and therefore do not need to be filled in.
3.1. Choosing a color
Clicking on the color input will open a small color selector like those seen in many image editing programs. Click anywhere on the hue bar to select a starting color. Use the brightness / saturation controls to customize your color and finalize your selection.
3.2. Length of an appointment
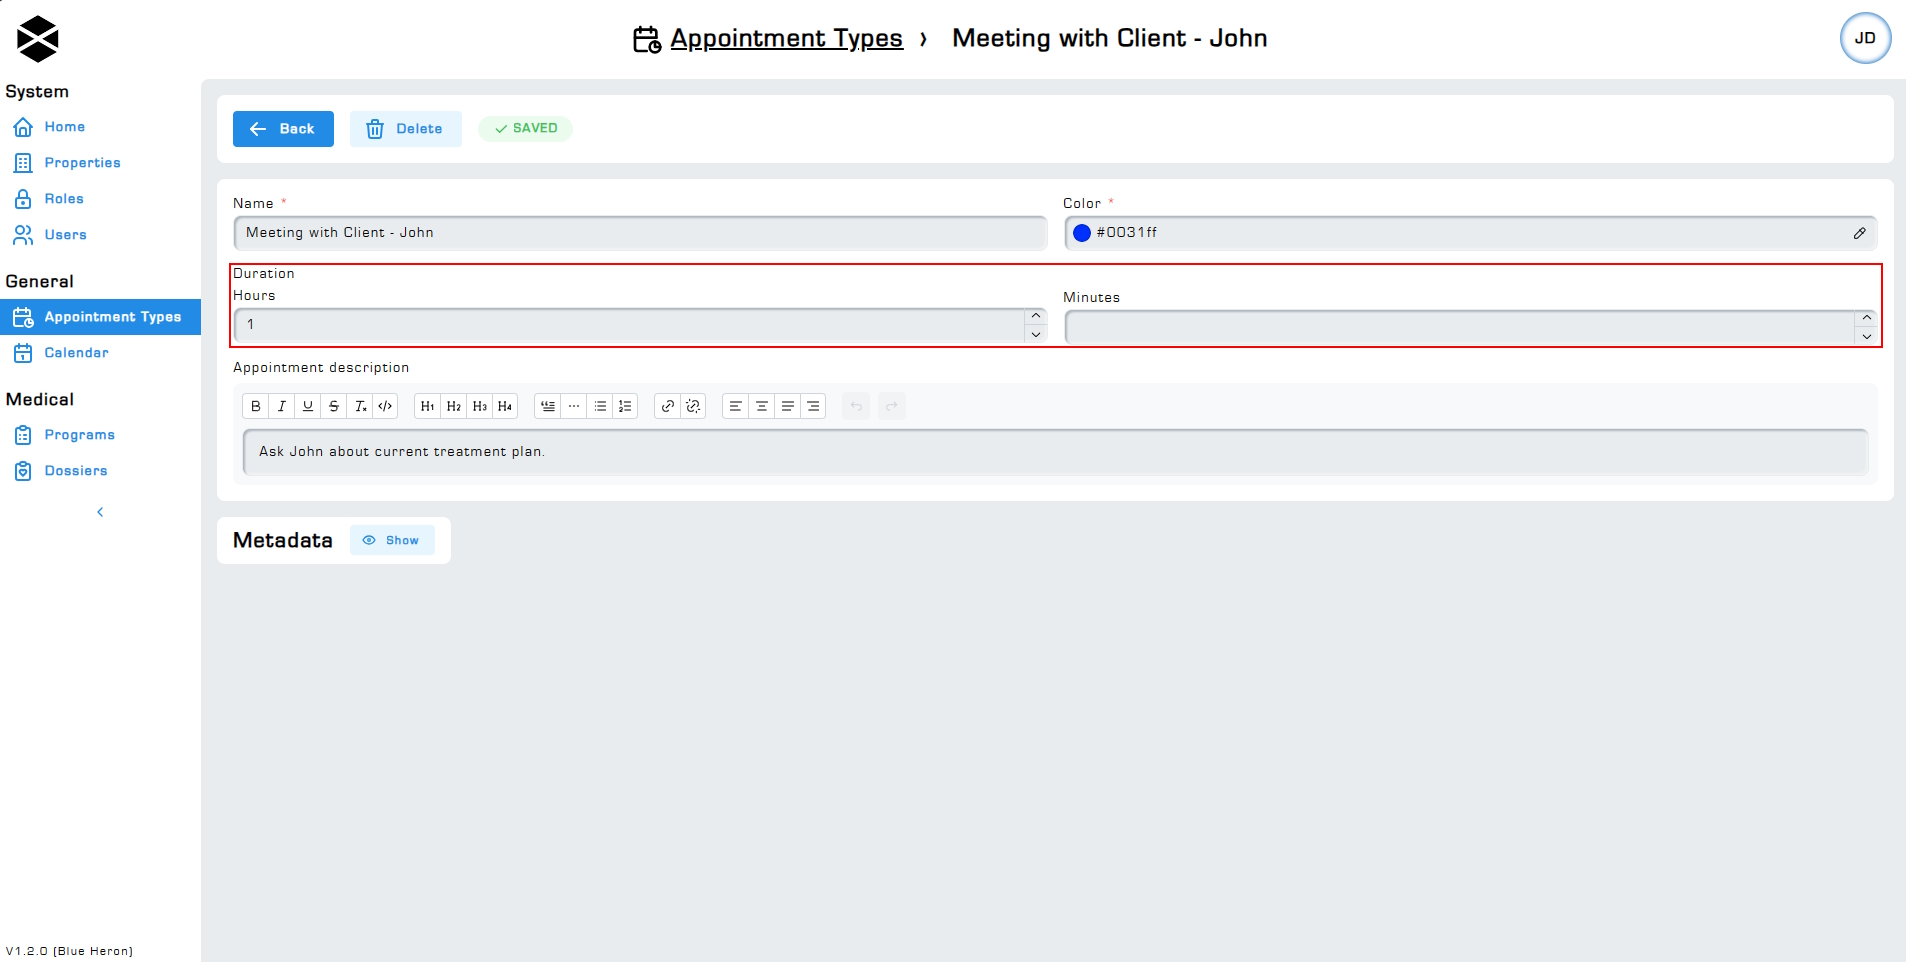
The length of an appointment can be predefined via the Hours and Minutes fields. If you want your appointment to last for one hour and thirty minutes, enter one in the hours input and thirty in the minutes field.
Consider creating multiple appointment types for different appointments that might take longer or shorter. The duration of an appointment is always equal to what is set in the appointment type and cannot be changed later. Read more about appointments on the Calendar page.
3.3. Entering a description
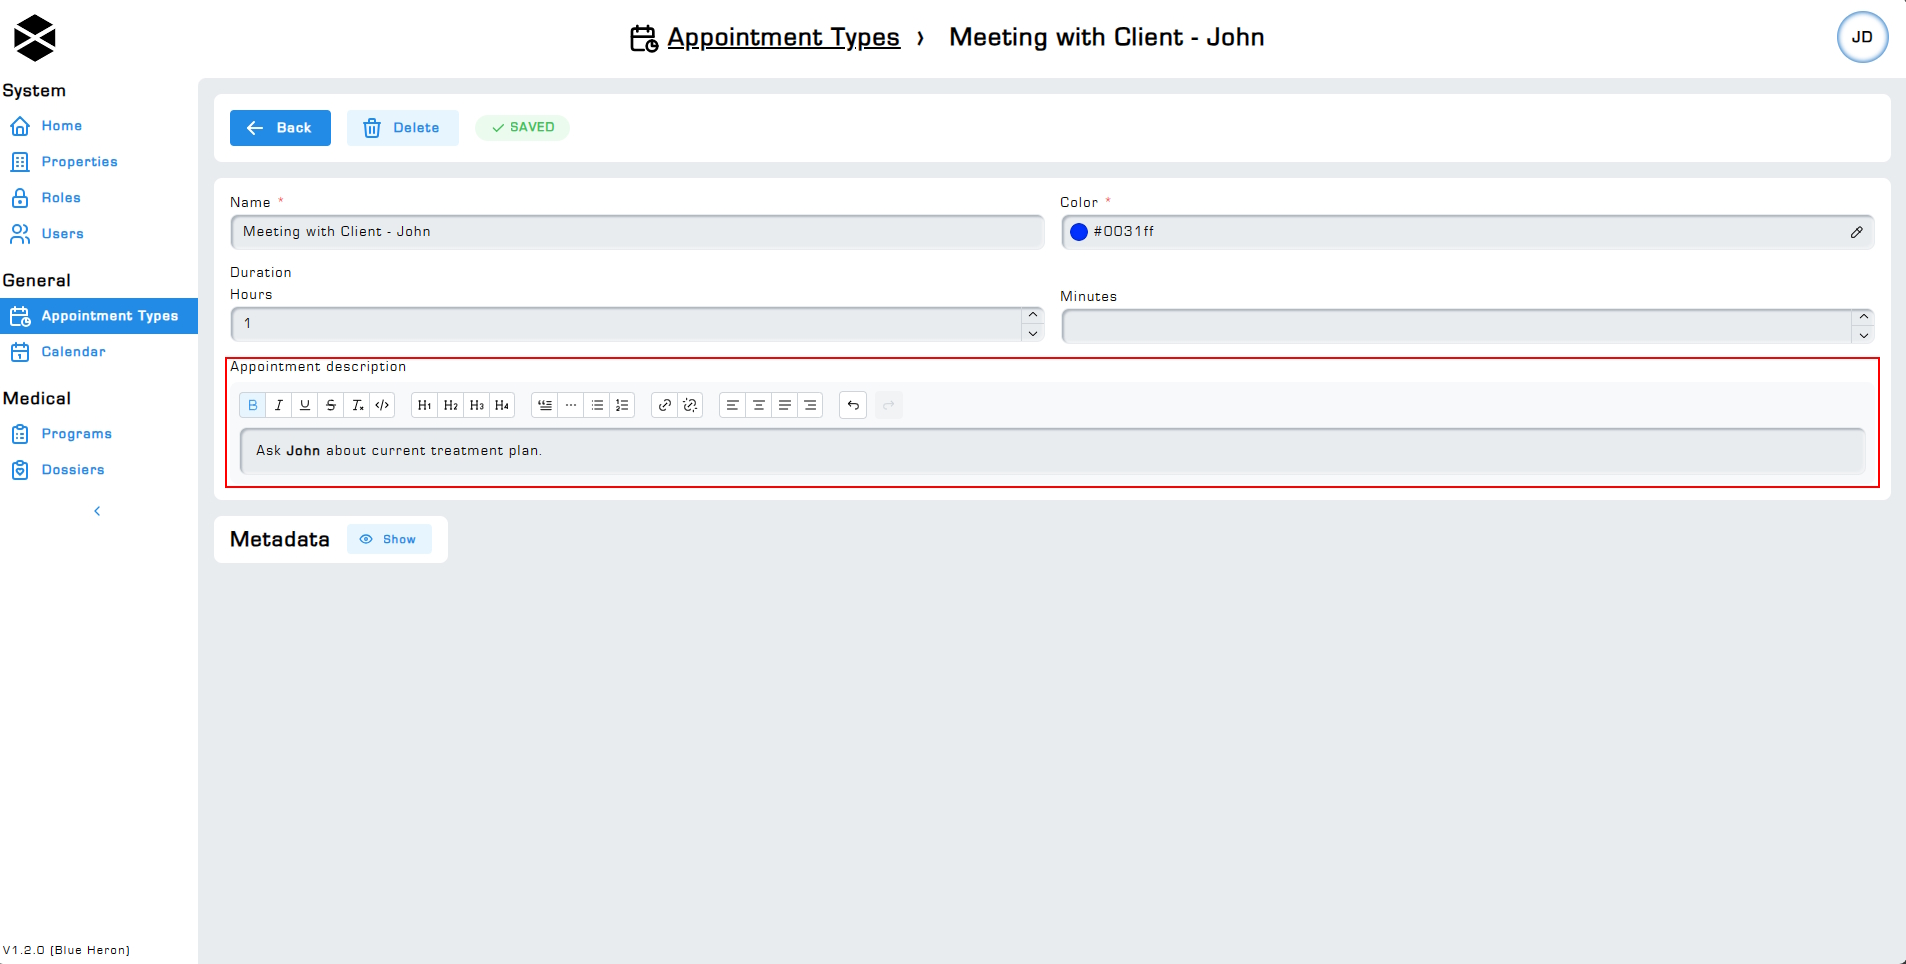
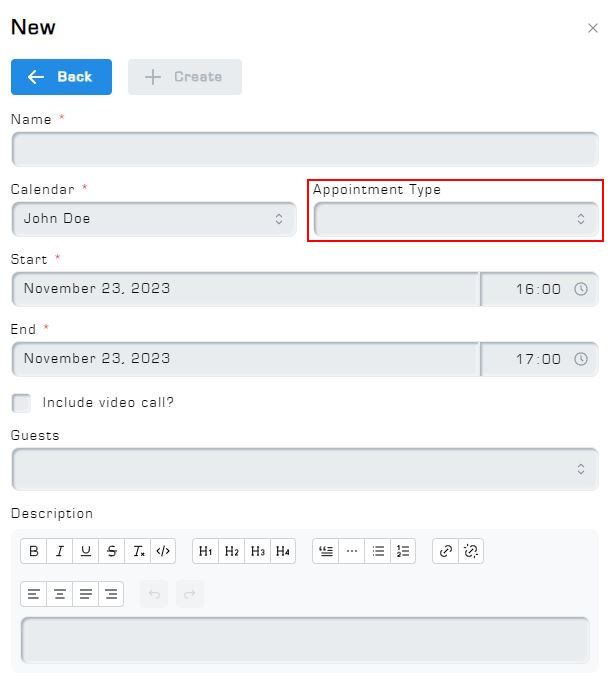
An appointment type's description is automatically added to an appointment when selecting that appointment type in the appointment creation menu. More information about creating appointments can be found on the Calendar page.
The description text input uses the rich text editor feature. The rich text editor feature allows you to edit text like you would in programs like Word or Pages.
3.4. Saving your appointment type
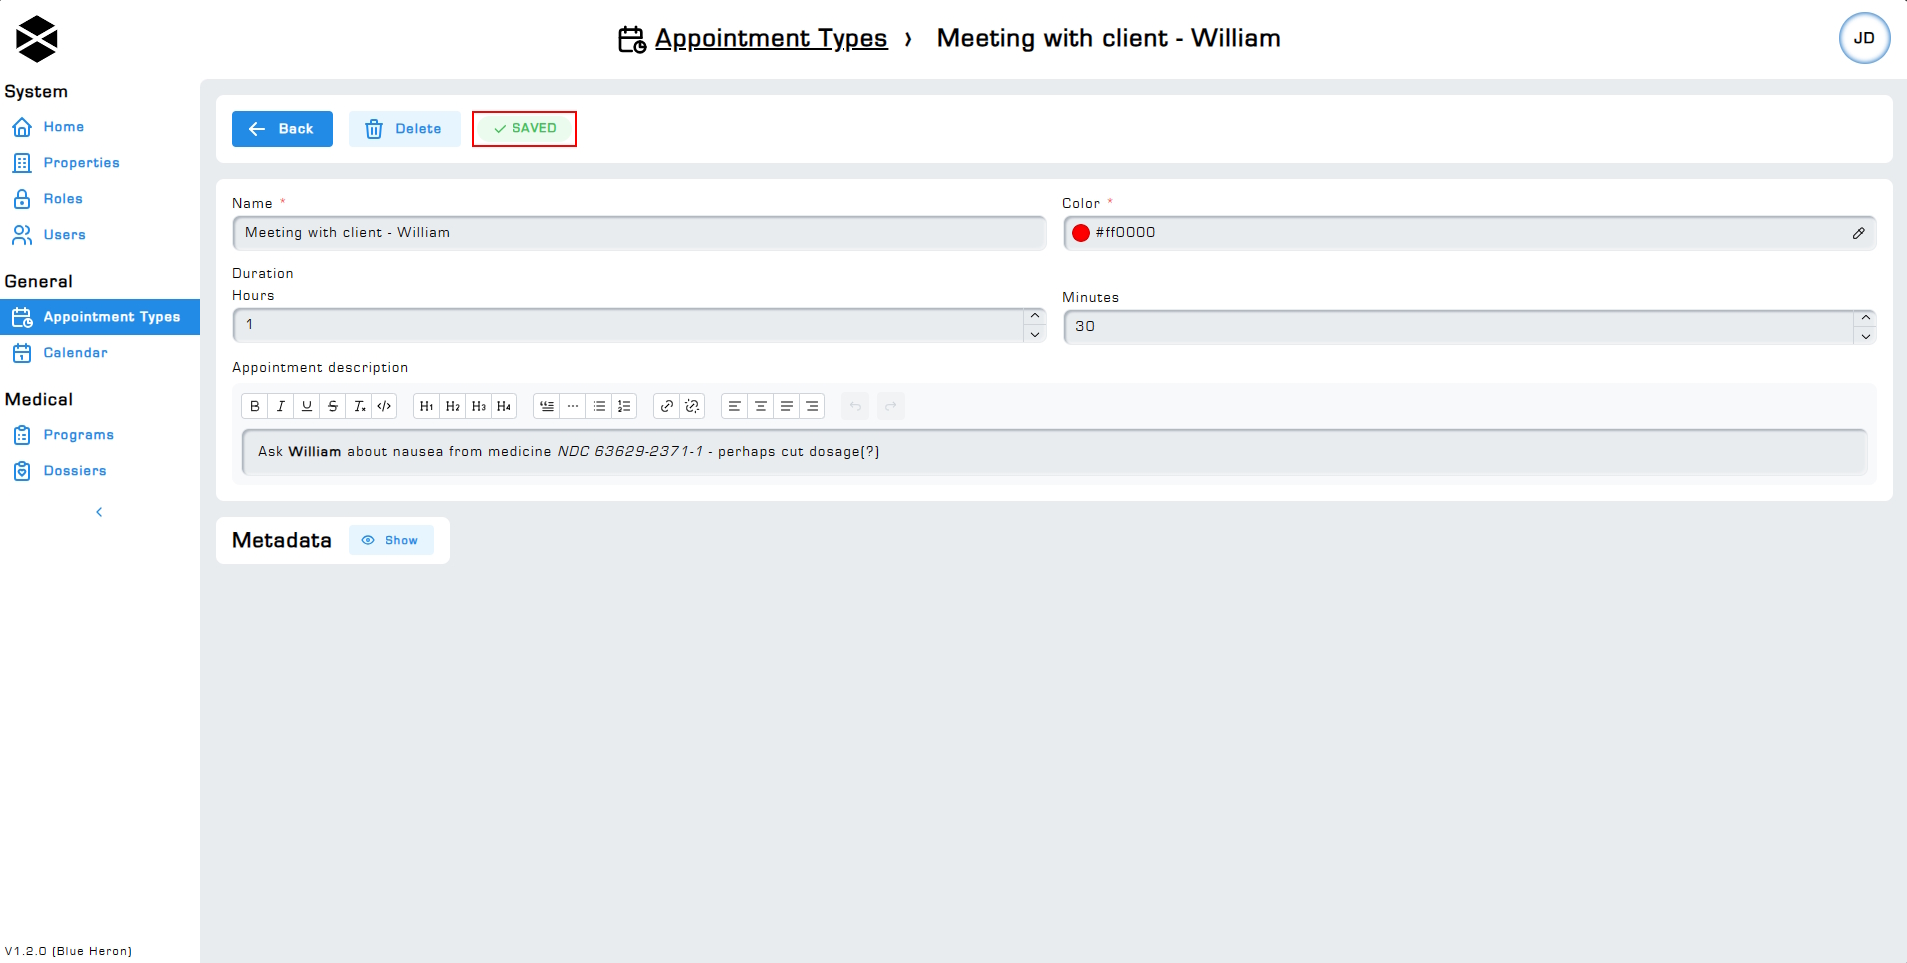
When editing your appointment type will automatically save as soon as you stop making changes, which is why there is no save button available. You can see the status of your appointment type via the save badge next to the delete button.
When creating an appointment type, finalize the creation process by clicking on the + Create button.
3.5 Adding your appointment type to an appointment
To add an appointment type to your appointment visit the Calendar page under the Scheduling module section. First, click on a date and time on the calendar, then add the appointment type by selecting it via the Appointment type dropdown. More information about creating appointments can be found on the Calendar page.
4. Editing Appointment types
Edit an appointment type via the appointment type page. Click on an appointment type and make the necessary changes, your changes will automatically be saved as soon as you stop editing. You can view the status of your appointment type via the save badge next to the delete button.
5. Deleting Appointment types
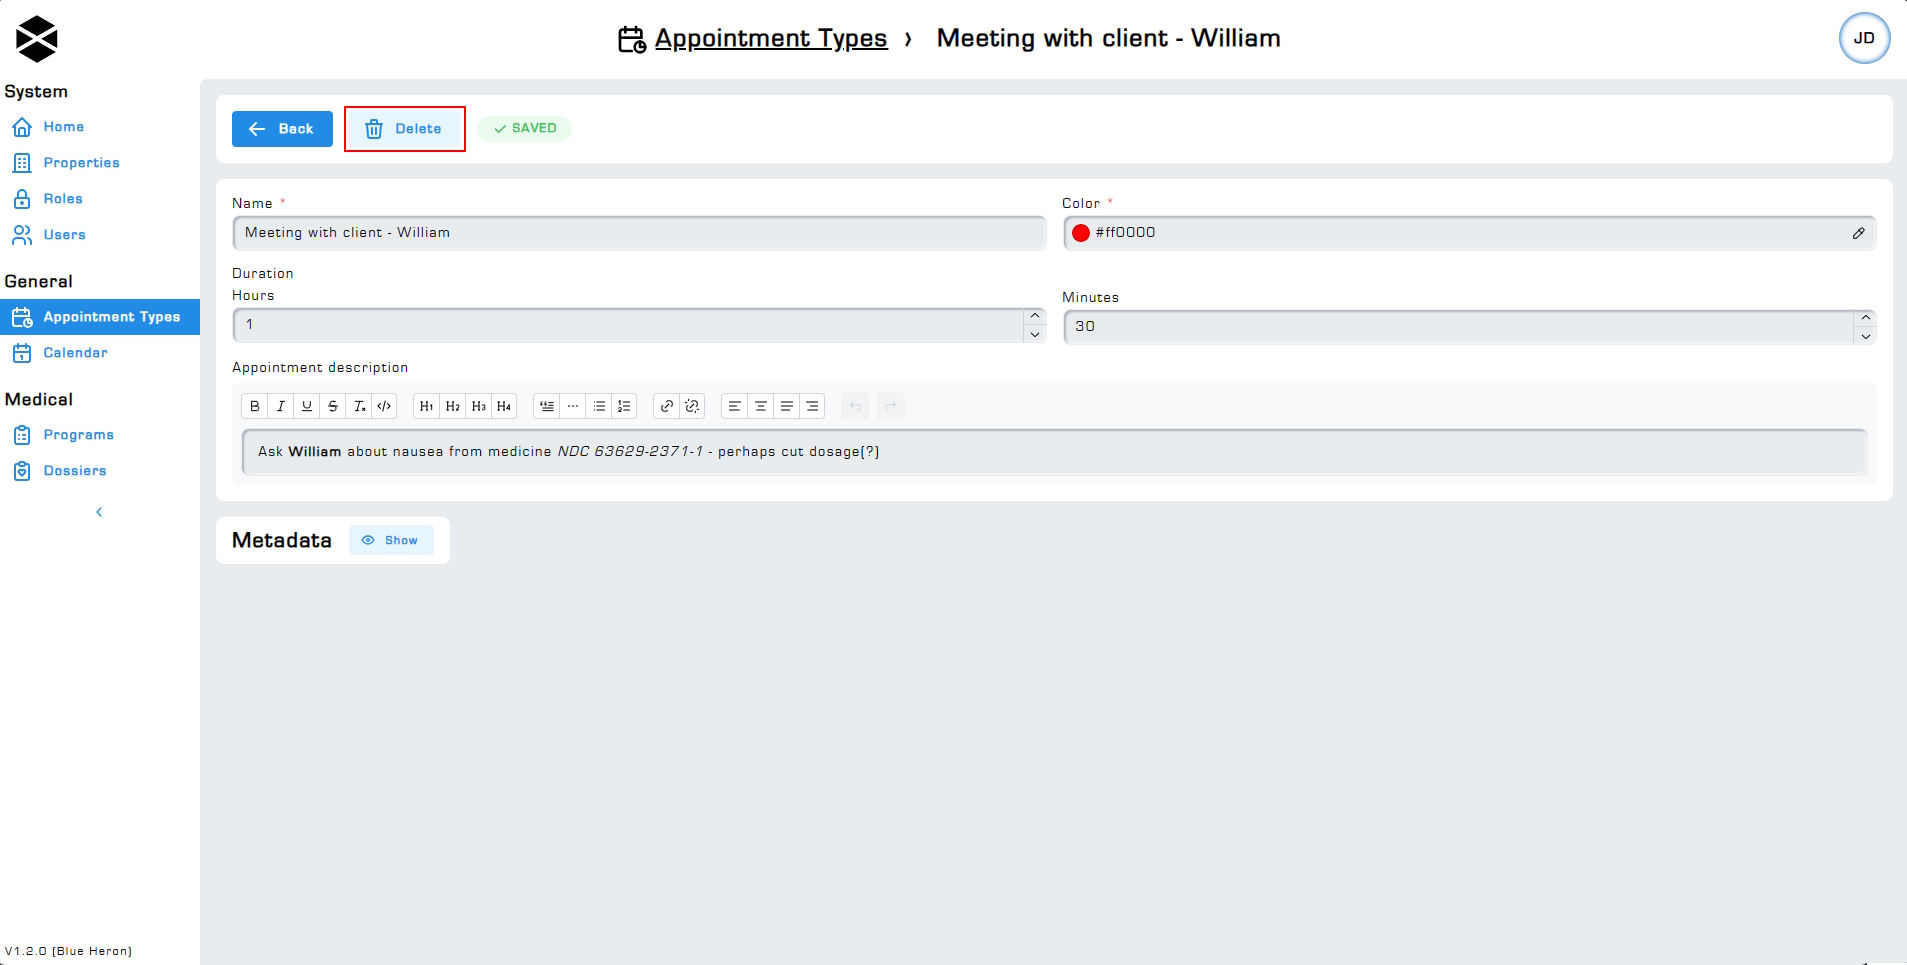
Delete an appointment type by first selecting an appointment type to edit from the appointment types overview page, then clicking on the delete button.
